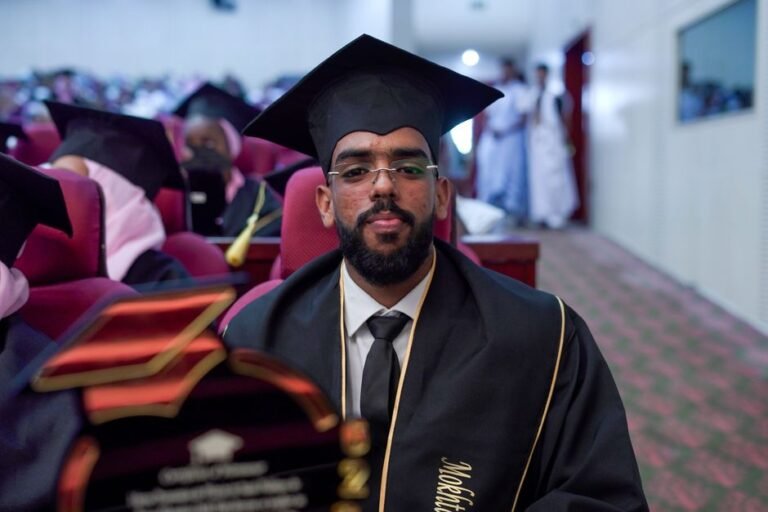
Graduation day moves quickly. Between collecting your gown, finding your guests and queuing for the ceremony, the photographs can feel like the one part of the day you have least control over. Posing for graduation photos is a set of small, learnable habits rather than a talent you either have or you do not. A few adjustments to your posture, your hands and the way you turn towards the camera will change how you look in every frame, from the formal stage shots to the informal ones your family take in the courtyard afterwards.
Get Your Posture Right Before You Think About Anything Else
Posture does more for a graduation photograph than any single pose. A gown hangs from the shoulders, so if your shoulders are rounded or your weight is sunk into one hip, the fabric follows that shape and the whole silhouette looks heavier than it is. Photographers who shoot graduations week in, week out give the same starting instruction: stand up tall, shoulders back. It sounds obvious, and it works.
Stand tall as your default setting
Roll your shoulders back and down, lift gently through the crown of your head and let your arms hang. That is the neutral position every other pose should return to. If you catch yourself slouching between shots, reset rather than trying to hold a stiff pose for the full session. Holding tension for too long shows in the jaw and the shoulders, which is the opposite of what you want in a photograph you will keep for decades.
Small adjustments that change the whole frame
- Turn your body slightly so you are not square on to the lens. Most people look narrower and more relaxed at a slight angle.
- Shift your weight onto your back foot. It stops you leaning forward into the camera, which compresses the neck.
- Angle your chin down and slightly forward rather than tipping it up. Lifting the chin flattens the jawline and catches shadows under the eyes.
- Relax your mouth between frames. A held smile goes tight after a few seconds, so let your face rest and rebuild the smile for each shot.
Poses That Work With the Gown Rather Than Against It
The gown is a large, shapeless piece of fabric, and the most successful graduation poses use that to your advantage by creating shape where there otherwise is none. Movement, angles and a visible line at the waist all help.
The over-the-shoulder turn
This is one of the most reliable graduation poses. Face away from the camera and put your right foot forward with your left foot back. Then rotate your chest back towards the photographer so your face and the front of the gown are both visible. Because your hips stay turned away while your shoulders come round, the gown falls in a diagonal line instead of a box, and the hood and stole catch the light properly. It also gives the shot a sense of occasion rather than a passport-photo look.
Making the most of your stole and hood
Fold your stole in half so that one side of it shows across your chest, rather than letting both lengths hang flat and disappear into the fabric. If you are feeling confident, a little flick of the gown at the edge of the frame adds movement, in the way a cape would. Keep the movement small. A gown that has been thrown around looks messy, not dramatic.
What to do with the cap
You have three good options. Keep the cap on, tilt slightly and let the tassel fall to one side. Hold the cap against your chest or at your hip, which frees up your hands and shows your face clearly. Or save the cap for a throwing shot at the end, when a group of you can toss them upwards together and the photographer catches the moment of celebration. A cap pulled low enough to shade the eyes rarely helps, so check how it sits before the session starts.

Hands, Eyes and the Details That Decide the Shot
Hands are the giveaway in an otherwise good photograph. Dangling hands look awkward, and splayed fingers look stiff. Give them a job.
- Rest one hand on the edge of the gown or hold the stole where it crosses your body.
- Hold your cap, scroll or certificate rather than gripping it hard.
- Keep fingertips together and slightly curved, as though holding a small object.
- Rest a hand lightly on a family member’s shoulder in group shots instead of dropping it behind them.
For your eyes, look directly into the lens for the formal frames. If you find that uncomfortable, look at the photographer’s shoulder instead, which reads as eye contact in the final image without the strain. Blinking is easy to manage: blink deliberately, open your eyes and hold for the count, then relax. If you wear glasses, expect some reflection in bright outdoor light and be ready to tilt your head a fraction to lose it.
Group Shots Look Better With a Plan
Family and friends make up a large part of any graduation gallery, and the pride on their faces is often more moving than any posed shot of the graduand alone. Give the group something to do.
- Agree a line of sight. Everyone looks towards the camera, not at each other, unless you are deliberately shooting a candid moment.
- Stagger the heights so faces are not blocked. Shorter guests to the front, taller behind, children lifted rather than hidden.
- Capture reaction shots. Photograph parents and partners watching you collect your certificate, or the first hug after the ceremony, rather than only the arranged line-ups.
- Ask for a laugh. A genuine laugh, encouraged by someone in the group, produces a far better frame than a countdown.
Do’s and Don’ts at a Glance
| Do | Don’t |
|---|---|
| Stand tall with shoulders back | Slouch into the gown or sink into one hip |
| Turn slightly to the side for most frames | Stand square on to the lens in every shot |
| Fold the stole so one side shows across your chest | Let the stole bunch at your neck |
| Give your hands something to hold | Leave hands hanging with fingers splayed |
| Check the cap and tassel before the session | Pull the cap down so it shadows your eyes |
| Take several frames and review them | Assume the first shot is the only one |
| Photograph family reactions as well as poses | Keep every shot formal and arranged |

Show the Outfit and the Location, Not Just Your Face
A graduation gallery needs variety. If every frame is a head-and-shoulders portrait, the day looks smaller than it was. Include shots that show the outfit in full, the venue and the campus where you spent your time. A full-length shot from a few steps back, with the gown falling properly and your shoes visible, often ends up being a favourite.
If a friend or relative is taking photographs on a phone rather than a camera, a few settings make a real difference. Use the phone’s portrait mode where it is available. Change the lens setting if your phone has more than one, since a longer lens compresses features more kindly than an ultra-wide one. For groups, have everyone look towards the same point so no one is caught mid-turn. On the day itself, a phone camera handled well will outperform a good camera handled badly.
A Simple Checklist for the Morning of the Ceremony
- Dress the gown properly and check the stole and hood sit level in a mirror before you leave the changing area.
- Take grips, pins and a spare pair of tights or socks. Graduation days are long, and small repairs save the photographs.
- Eat and drink something before the ceremony. A hungry, lightheaded graduand does not photograph well.
- Decide in advance what you want to keep in your hands for the formal shots.
- Tell your guests where to stand so they are not searching for you in a crowd when you come out.

Working With a Photographer on the Day
You do not need to memorise a posing guide if a photographer is booked. Professional graduation and event photographers direct subjects constantly, adjusting feet, hands and chins without you having to think about it. Lifetime Event Photography covers graduation photography alongside its wider event work, and the same principle applies there as at any booked session: say what you are self-conscious about, ask to see a frame on the back of the camera, and trust the direction rather than fighting it. Photographers are used to people who insist they are not photogenic, and a relaxed, well-directed session nearly always changes their mind.
Frequently Asked Questions
How do I look good in graduation photos?
Start with posture, because it affects everything else. Stand tall with your shoulders back, turn slightly away from the camera rather than facing it square on, and give your hands something to hold. Keep the cap high enough that it does not shade your eyes. Take more frames than you think you need, and review them as you go so you can adjust before the session ends.
What is the most flattering pose for a graduation photo?
The over-the-shoulder turn is consistently flattering. Face away from the camera, put your right foot forward and your left foot back, then rotate your chest back towards the photographer. Your hips stay turned while your shoulders come round, which gives the gown a flattering diagonal line and keeps your face fully visible in the frame.
What are the most common mistakes in graduation photos?
Slouching, dangling hands, a cap pulled too low and standing square on to the lens are the usual culprits. Other frequent problems include holding a fixed smile until it goes tight, forgetting the stole so it bunches at the neck, and shooting only formal portraits with no shots of the family’s reactions or the venue itself.
How do I pose if I feel awkward in front of a camera?
Give yourself a physical task rather than trying to feel a certain way. Hold your cap, adjust your stole, walk a few steps and turn as you go. Movement is easier to manage than stillness, and it produces natural-looking frames. If a photographer is directing you, follow their instructions and ask to see a couple of shots early on so you know how they look.